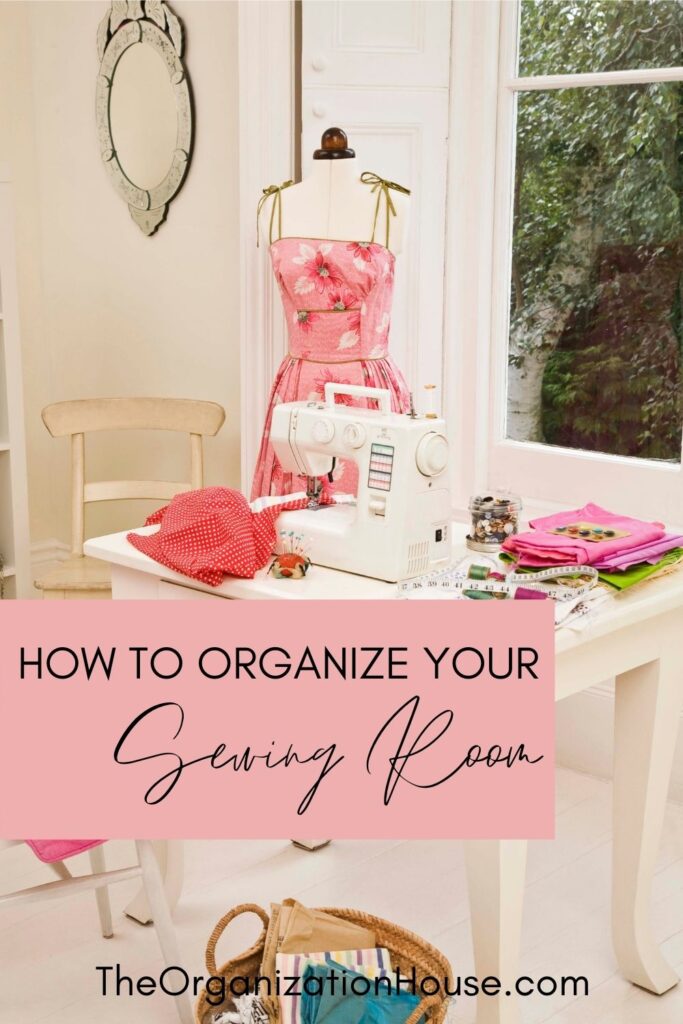
How to Organize a Sewing Room
Is your sewing room a hot mess? Learn how to organize your sewing room today!
Whether you are new to the sewing game or you have been sewing for years, you will find that having an organized sewing room will create a happy workspace. Take a little time to go through what you have, find a storage solution, and set everything up in your sewing space to turn your sewing mess into sewing tidiness.
Let’s get started!
This article contains affiliate links to products that will help you get organized.
Organizing a Sewing Room
Sort It
The first step is to gather all of your sewing supplies and sort them. Separate them into groups: tools, fabrics, patterns and books, works in progress, and finished projects.
Once everything is categorized, go through and toss or donate items that you may have duplicates of, items that are not working, or items that you just don’t use. Now that you have sorted and scaled-down, it’s time to find a storage solution for everything.
Store It
The next step in organizing a sewing room is to neatly store the items that have just been sorted. Each group will have it’s own home. Let’s go over the best ways to store each collection and arrange them accordingly.
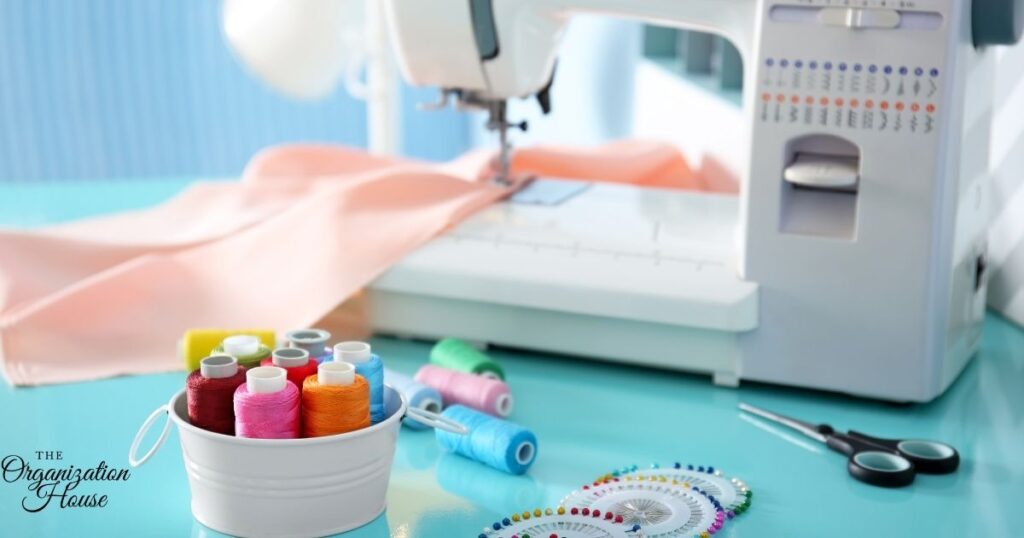
Sewing Tools
Prioritize sewing tools by considering how often they are used. Keep the supplies you need for every project (like a ruler and scissors) within reach, while keeping project specific supplies tucked away but still easily accessible. Pegboards, hooks, rods, and hanging baskets are great when looking for how to store sewing supplies.
Sewing Fabrics
A simple storage idea on how to organize fabric in a sewing room is to arrange the pieces by size. Separate fabrics into larger pieces, medium pieces, and smaller scrap pieces. Once sorted, you’ll find that fabrics can be stored in many ways, depending on your preference. You can drape larger fabrics over a hanger and place in a closet or on a hanging rack. Arrange medium sized fabric pieces by folding them to fit neatly into a cabinet, drawer, or on top of a shelf. Small scrap pieces can be tossed into clear bins by color and stacked for quick identification.
Sewing Patterns and Books
Catalogue sewing patterns into a 3-ring binder for storage. Insert paper patterns into clear protectors and use tabs to identify them. Magazine holders are another great option to store patterns neatly together. Use a bookcase or shelving to further organize and sort patterns, books, and other resources for quick reference.
Works In Progress (WIP)
Storing works in progress can be a bit tricky. The best advice we have found to stash your WIP’s is to keep everything for one project all together. Whether you prefer a soft bin or a hard container for your WIP, the key is to have everything for that one project in the same place. Storage options like totes, woven baskets, or clear containers work wonders for storing all of your works in progress individually.
Finished Projects
Your finished projects are something to be proud of! Gift them, sell them, use them or display them in your freshly organized sewing room or around the house!

Set It Up
Finally, we’re almost there! You have already sorted and discovered ways to store all of your sewing items. Now, let’s talk about how to set it all up in your space!
Figure out where you want your sewing desk to be and go from there. This will be where the sewing magic happens, as well as, where the majority of your supplies will be, so it’s a great starting point. Once you have the perfect spot, consider a table that is multi-functional. Make it more than just the place where your sewing machine sits. Think about adhering your measuring tape to the table just like you see in the fabric stores. This will save time and energy when measuring out your fabrics. While you’re at it, give the desk another purpose by topping it with a cutting mat. Now, you’ve just created a multipurpose sewing table where you can measure, cut and sew.
If your sewing table has drawers, fill them up! Use drawer organizers or create your own dividers to store your sewing essentials. Behind your desk, go vertical with more sewing supplies and use up that wall space. Take advantage of the area under the desk, as well. This is a great place to tuck your WIP’s or store some fabric. Use every nook and cranny to maximize the space in your sewing room!
How to Organize a Sewing Room on a Budget
You don’t have to break the bank to make the most of your sewing space. Reuse items from around the house to store and organize your sewing supplies, fabric, patterns, and more. Be creative when looking for ways to organize!