How To Carve A Pumpkin
Follow these easy steps on how to carve a pumpkin!
Always an autumn favorite, carved jack o’lanterns bring a bit of magic to every front stoop. Create a little holiday excitement and carve a pumpkin or two for Halloween.
Pumpkin carving is a creative way to dress up the front of your house. Get into the Halloween spirit by making your own jack o’lanterns. Whether you go spooky, silly, or simple, pumpkin carving is an easy peasy decorating activity.
It is an activity that’s tons of fun for all ages. It makes for an awesomely entertaining family activity, a super date night idea, or an amazing solo craft session. Pretty much, in any situation, carving pumpkins is an enjoyable experience for everyone involved.
So, let’s get to carving!
Pumpkin Carving 101
Pumpkin Carving Necessities
No matter how you decide to carve your pumpkin, you’re going to need a few things. Here’s a list to get you started:
- Pumpkin (obviously)
- Cloth/Towel (preferably a damp cloth/towel)
- Pen or Marker
- Paring Knife and/or Pumpkin Carving Tool Set
- Scoop or Spoon
Pumpkin Prep
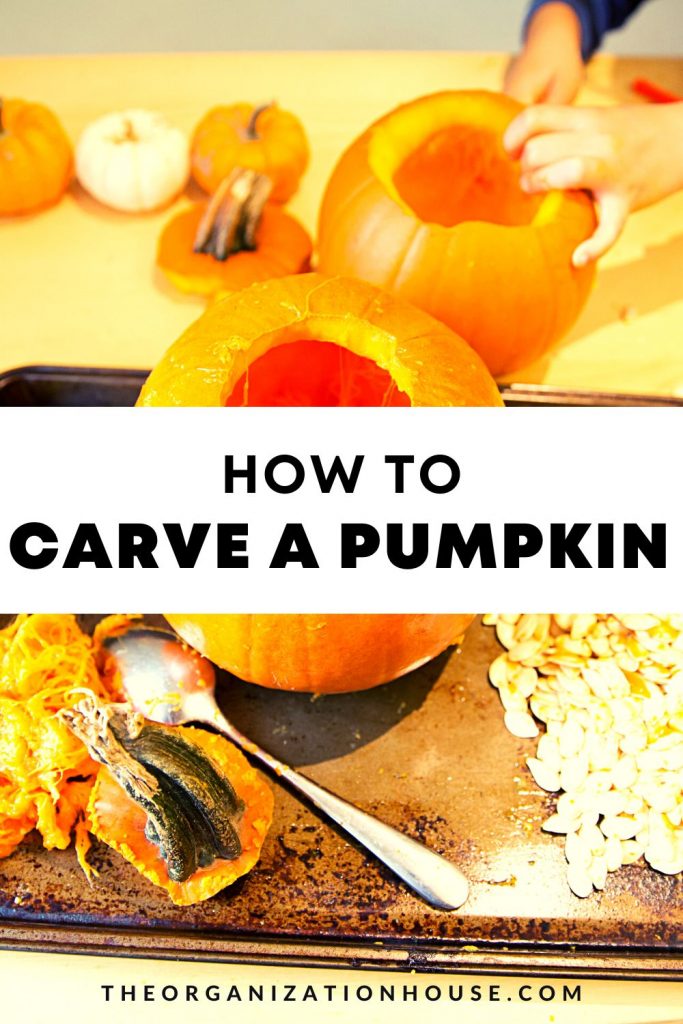
First thing first, you want to pick your pumpkin(s) and get it ready for carving. Once you have selected the best pumpkin for you, give it a good wipe-down with a cloth or towel. A damp cloth will work better than a dry one, but either way will do.
When the pumpkin is clean and dry, go ahead and take a pen or marker and draw a large circle around the stem of the pumpkin. This is the outline for the lid. It is also how you will get inside to clean out your pumpkin.
Next, carefully cut along the marker line with a sharp paring knife (this step is best done by adults). Once the top is removed, get on in there and remove the seeds and pulp from the inside of the pumpkin with a scoop or spoon.
Tasty Tip: Make a yummy, healthy snack by roasting those pumpkin seeds in the oven!
Pumpkin Design
It’s time to design your pumpkin! Take some time to think about what you want your pumpkin to be. Once you have decided, sketch out your design on the pumpkin. This will make carving easier when it is time.
If you’d rather not draw it out, consider using stencils, cookie cutters, or even temporary tattoos!
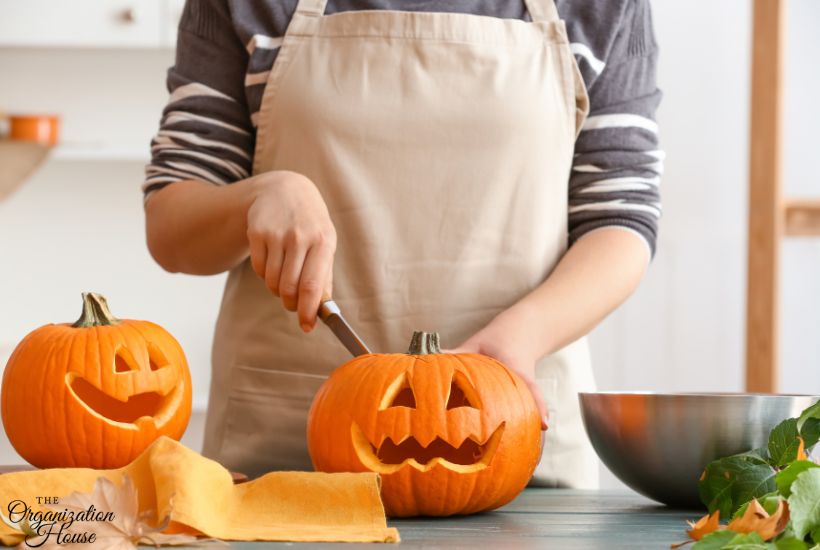
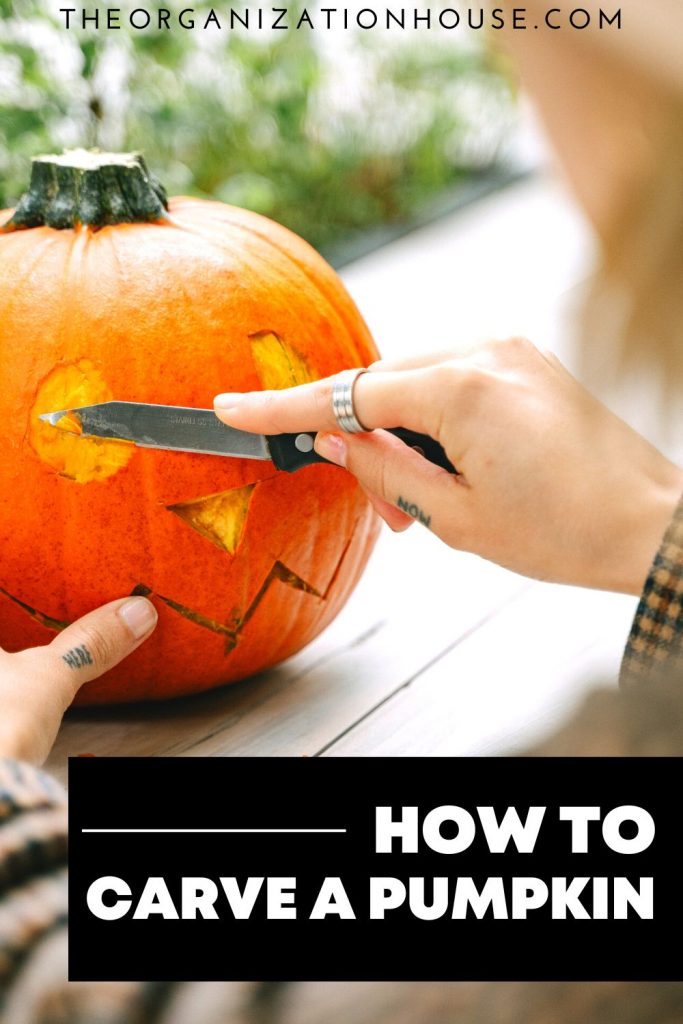
Pumpkin Carving
Guess what? It’s carving time! Get your pumpkin carving tool set or paring knife and carefully get to work! Follow the sketch or outline of your design and slowly carve out your design (obviously, this part is not for small children, but older kids can give it a try with supervision).
Quick Tip: When carving, push the fully cut-out pieces into the center of the pumpkin, and remove them when you’re done. This makes for a quick and easy clean-up.
Pumpkin Lighting
If you’re going jack o’lantern style, place a tea light or battery-operated candle into the center of the pumpkin and wait for it to get dark. Once night falls, light up the candles and watch your pumpkin glow!
Pumpkin Carving Basics
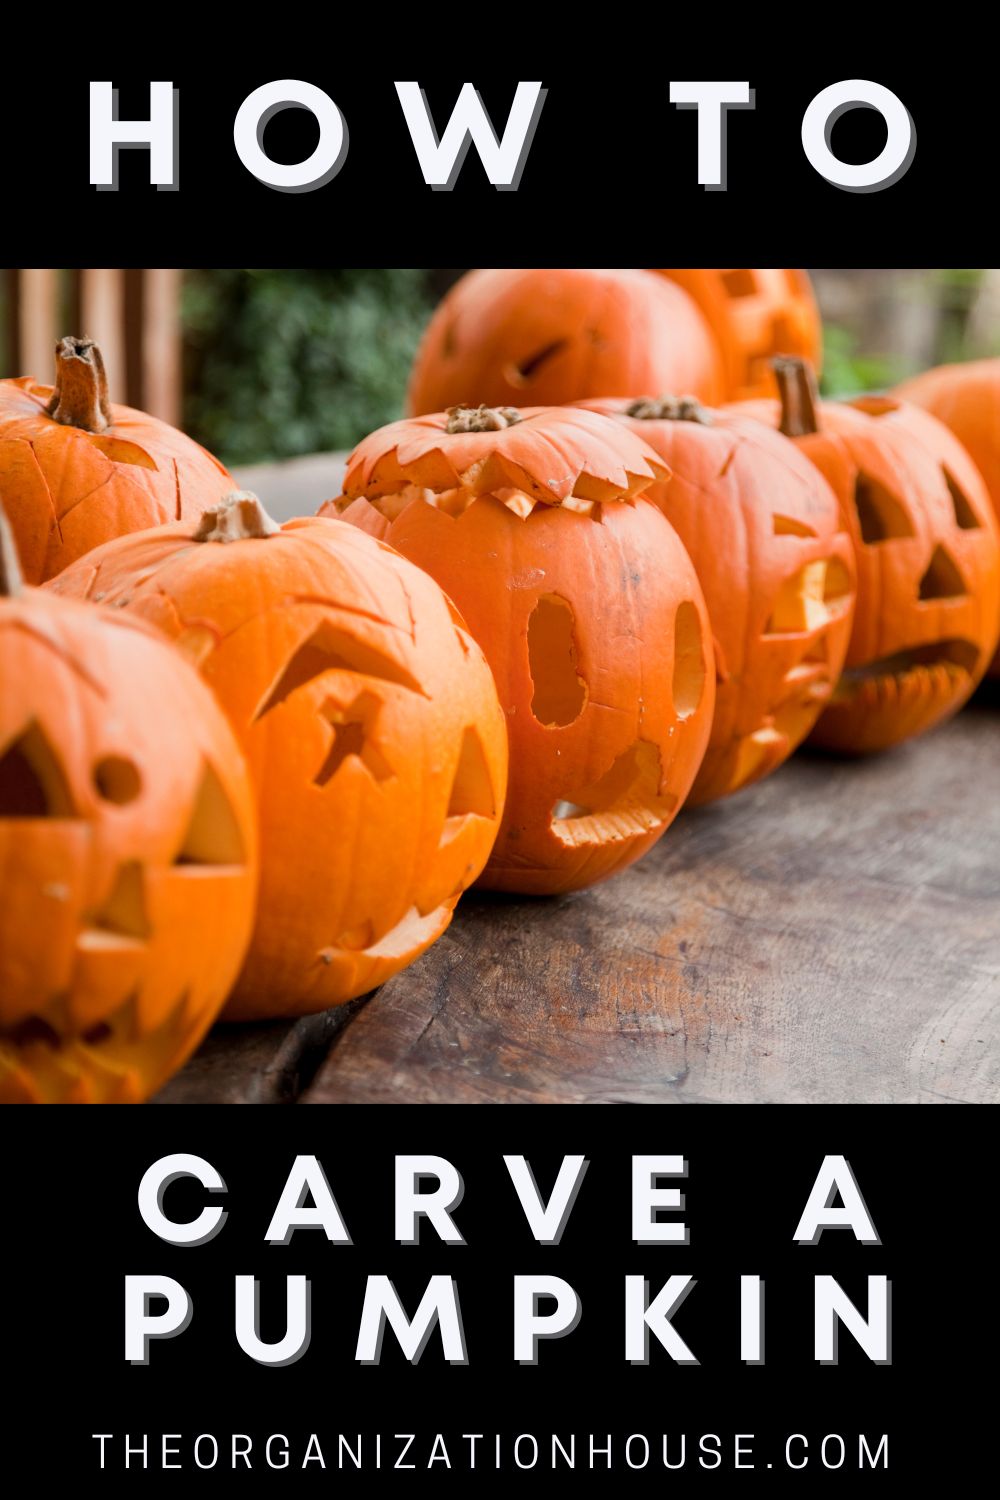
As you see, pumpkin carving is a simple, fun, and entertaining activity for everyone! Once you’re done, you can proudly display your carved pumpkins (inside or outside) for your family and friends to enjoy. And don’t worry, if pumpkin carving just isn’t your thing, skip it altogether and paint your pumpkin instead!